How To Screenshot on Mac Or How to take a screenshot on Mac, step by step
Know How To Screenshot on Mac Or How to take a screenshot on Mac step by step, with shortcuts.
Capturing and sharing moments on your Mac has never been simpler, thanks to the powerful screenshot functionalities built into macOS. In this guide, we’ll take you through a step-by-step journey on how to take screenshot on Mac, unveiling the shortcuts that make the process swift and efficient. Whether you’re a creative professional, a student, or just someone eager to elevate your digital communication game, mastering these steps is essential.
How To Take Screenshot On Mac

Mac shortcut keys are the keystroke combinations that unlock a world of efficiency and productivity for users. From navigating seamlessly through applications to executing tasks with lightning speed, these shortcuts are indispensable tools in the Mac user’s arsenal. Whether it’s Command (⌘) + C for copying, Command (⌘) + V for pasting, or Command (⌘) + Space for launching Spotlight, each key combination serves as a shortcut to accomplish tasks with precision and ease. With a bit of practice, users can harness the power of these shortcuts to streamline their workflow and elevate their computing experience to new heights.
How To Screenshot on Mac | How To Take Screenshot On Mac
Step 1: Capture the Entire Screen
– Press `Command (⌘) + Shift + 3` simultaneously.
– Your screen will flash, indicating a successful capture.
– The screenshot will be saved to your desktop by default.
How To Screenshot on Mac
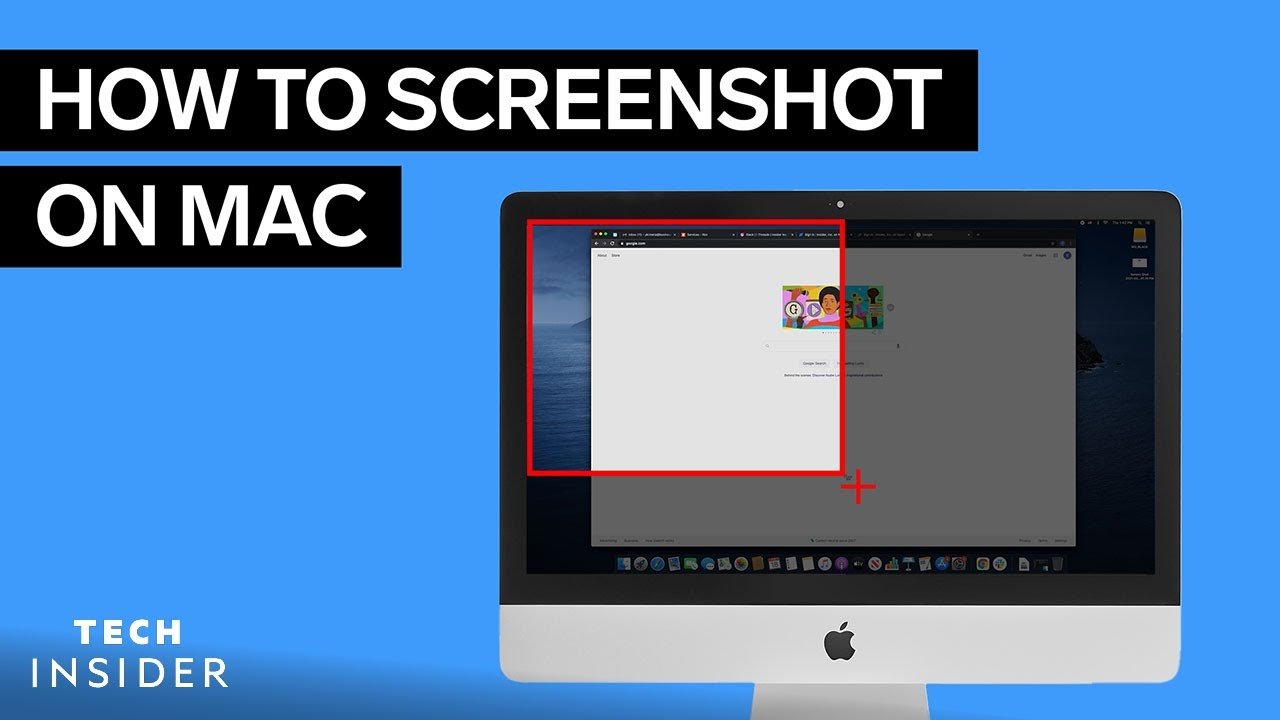
Step 2: Select a Portion of the Screen
– Press `Command (⌘) + Shift + 4`.
– Your cursor transforms into a crosshair.
– Drag and select the area you want to capture.
– Release the mouse button to capture the selected portion.
How To Screenshot on Mac
Step 3: Capture a Specific Window
– Press `Command (⌘) + Shift + 4`.
– Press the `Spacebar`.
– Move the camera cursor over the window you want to capture.
– Click the mouse button to take the screenshot.
How To Screenshot on Mac
Step 4: Capture the Touch Bar (For MacBook Pro Users)
– Press `Command (⌘) + Shift + 6`.
How To Screenshot on Mac
Step 5: Copy to Clipboard (No File Saved)
– Add the `Control` key to any of the combinations mentioned above (e.g., `Command (⌘) + Control + Shift + 3`).
Pro Tips for Screenshot Mastery:
– Customize Your Save Location: If you prefer a different location for saving your screenshots, use the Terminal with the command: `defaults write com.apple.screencapture location /path/`.
Instant Clipboard Copy: Hold down the `Control` key with any screen shot shortcut to copy the image directly to your clipboard.
Frequently Asked Questions (FAQs):
Q1: Where are my screenshots saved?
– Answer: By default, screenshots are saved on your desktop. If you’re using macOS Mojave or later, find them neatly organized in the “Screenshots” folder.
Q2: Can I change the default save location?*
– Answer: Absolutely. Open Terminal and enter the command: `defaults write com.apple.screen capture location /path/`, replacing “/path/” with your desired location.
Q3: How do I capture a screenshot without saving a file?
– Answer: Hold down the `Control` key in addition to the usual screenshot shortcuts, and the image will be copied to your clipboard, bypassing the file-saving process.
Q4: Are there third-party apps for advanced screenshot features?
– Answer: Certainly. Apps like Snagit or Lights hot offer additional features, but for most users, the built-in options are robust and sufficient.
Conclusion:
Congratulations! You’ve now mastered the art of screenshotting on your Mac. Whether you’re capturing the entire screen, a specific window, or a selected portion, these shortcuts will make the process seamless. Experiment with the tips provided and tailor your screenshotting experience to suit your needs. Elevate your digital communication by sharing your screen effortlessly. Happy capturing!


